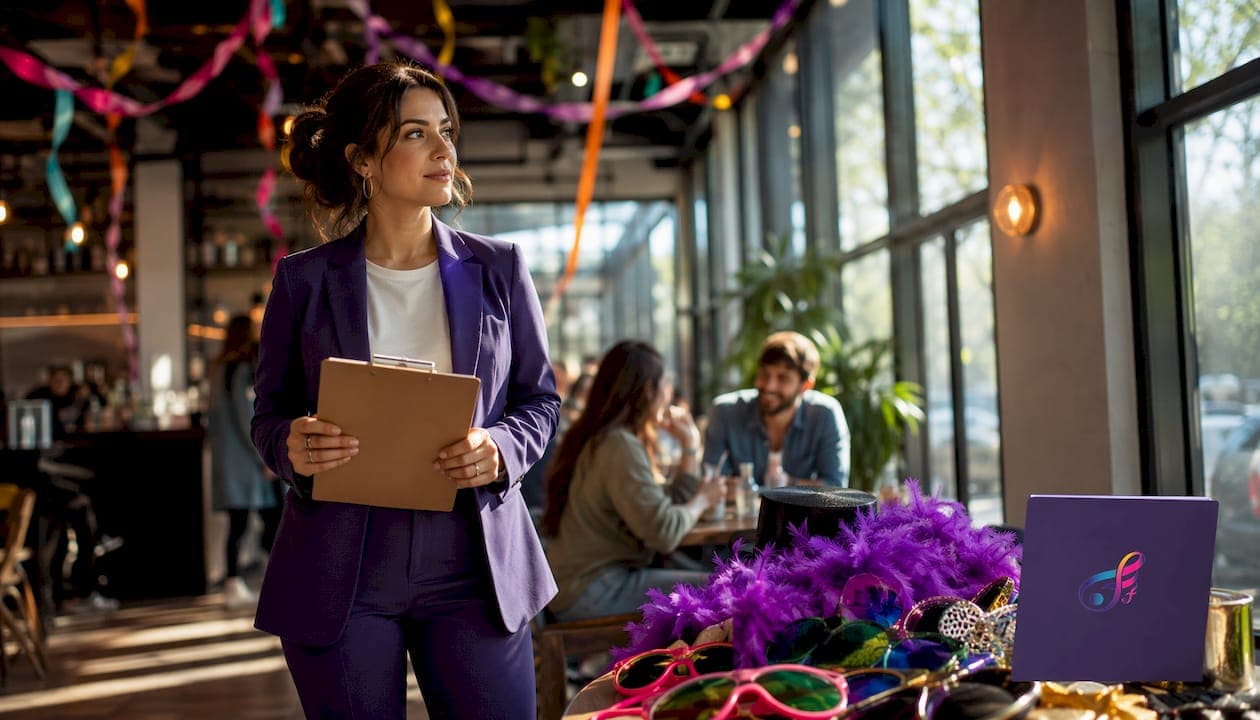
A well-planned wedding photo booth does three things at once: it entertains guests during the lulls between dinner and dancing, it produces keepsakes people actually keep, and it gives your reception a focal point that feels personal rather than generic. The difference between a booth guests line up for all night and one they ignore after two visits almost always comes down to planning, not budget.
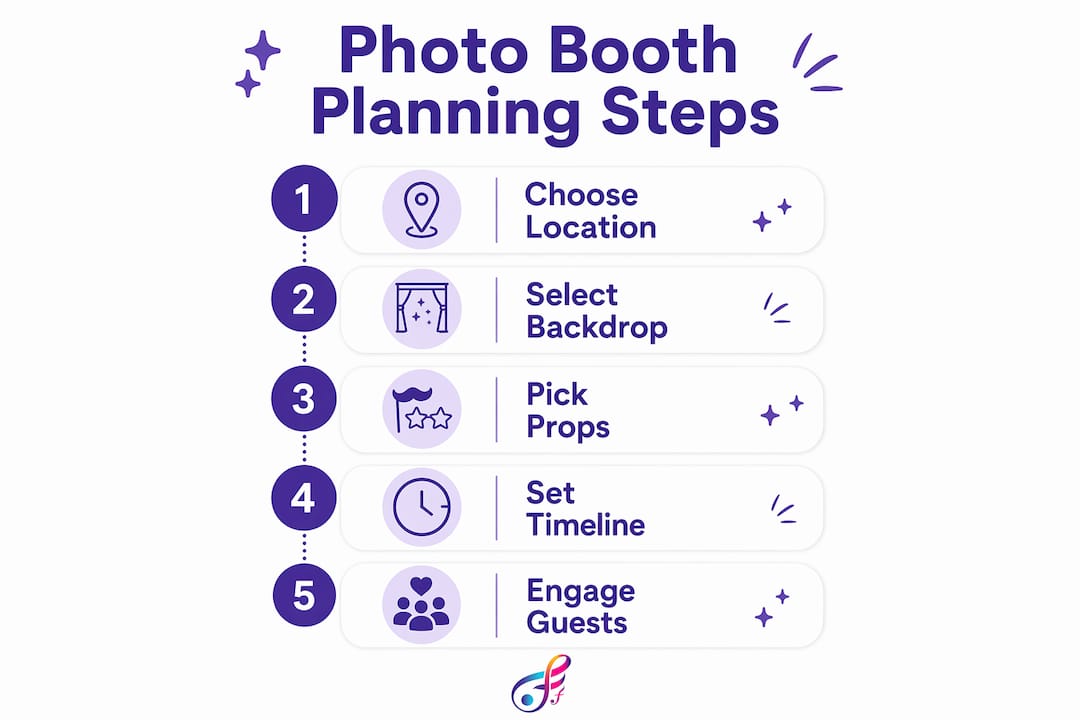
Here is what goes into getting it right:
- Location: high-traffic, well-lit, near the bar or dance floor
- Backdrop: matched to your venue lighting and wedding palette
- Props: a carefully selected collection of props rather than a large, unorganized assortment
- Technology: camera, lighting, software, and a printer if you want physical takeaways
- Guest interaction: attendants, digital sharing, and a closing announcement
- Logistics: venue coordination, power access, and liability coverage
Every one of these elements affects the others. Nail the location and even a modest setup shines. Skip the attendant and even an expensive rig stalls.
Table of Contents
- How location and backdrop shape your wedding photo booth
- How to choose props that guests actually want to use
- What you need to set up a DIY wedding photo booth
- How to build your photo booth booking timeline
- How to get guests engaged and sharing photos all night
- Photo booth logistics and venue coordination
- What Fiesta Fusion's team has learned from hundreds of events
- What does a wedding photo booth actually cost?
- What photo booth software can actually do for your wedding
- Should you hire a professional or go DIY?
- How to weave your wedding theme into every part of the booth
- Fiesta Fusion brings the full photo booth experience to Northern Utah
- FAQ
- Key Takeaways
How location and backdrop shape your wedding photo booth
Placement is the single decision that determines whether your booth gets used. Affordable booths in prime locations outperform expensive setups hidden in dark corners, and that gap is wider than most couples expect.
Open-air booths need a moderate footprint; mirror booths require a somewhat larger space. Put that space near the bar or dance floor, where guests already congregate, and traffic flows naturally. A booth tucked behind the DJ speakers or beside a service exit will sit empty.
Pro Tip: Lighting matters more than the booth itself. If your venue has warm amber uplighting, a stark white backdrop will look washed out in photos. Choose a backdrop tone that works with the ambient light, not against it.
Backdrop options break into a few clear categories:
- Sequin or shimmer walls: gold, silver, and rose gold catch light beautifully and photograph well across all skin tones
- Floral walls: artificial flower arrangements in your wedding colors add romance without wilting
- Custom printed backdrops: your names, monogram, or wedding date printed on fabric or vinyl
- Greenery and botanical panels: versatile, works with rustic, garden, and modern themes
- Solid draped fabric: clean and timeless, lets props and people do the visual work
Match the backdrop to your venue's existing aesthetic. A sequin wall in a barn feels jarring; a greenery panel in a ballroom looks underdressed. When in doubt, a neutral draped fabric in ivory or blush works almost anywhere.
How to choose props that guests actually want to use
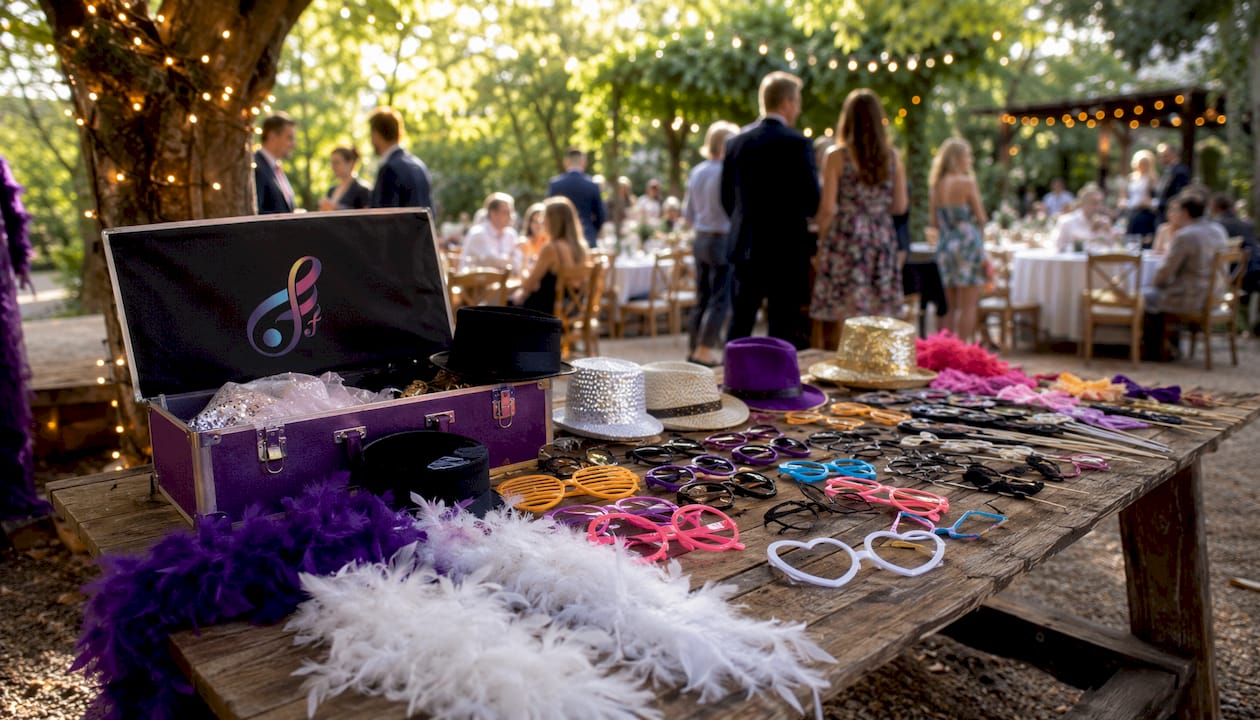
Props make or break the energy at a booth. Quality over quantity is the rule: 15–20 well-chosen props beat a table overflowing with cheap plastic pieces that photograph poorly and fall apart by hour two.
Organize props into three loose categories:
- Funny and playful: oversized glasses, mustaches on sticks, speech bubble signs with blank space for guests to fill in
- Elegant and on-theme: pearl frames, floral crowns, champagne flute cutouts, "Mr." and "Mrs." signs in your wedding font
- Personal and custom: signs with your hashtag, your wedding date, or an inside joke only your guests will get
Display props on a flat surface at arm height, arranged by size so nothing gets buried. Check the table at the start of each hour and reset anything that has fallen or been misplaced. Broken props stay off the table.
Pro Tip: A custom hashtag sign is one of the highest-return prop investments you can make. Guests who share photos online essentially become free promotion for your wedding memories, and you get a single searchable feed of every candid moment.
For more wedding photo booth prop ideas, Fiesta Fusion's prop guide covers themed options across styles from boho to black-tie.
What you need to set up a DIY wedding photo booth
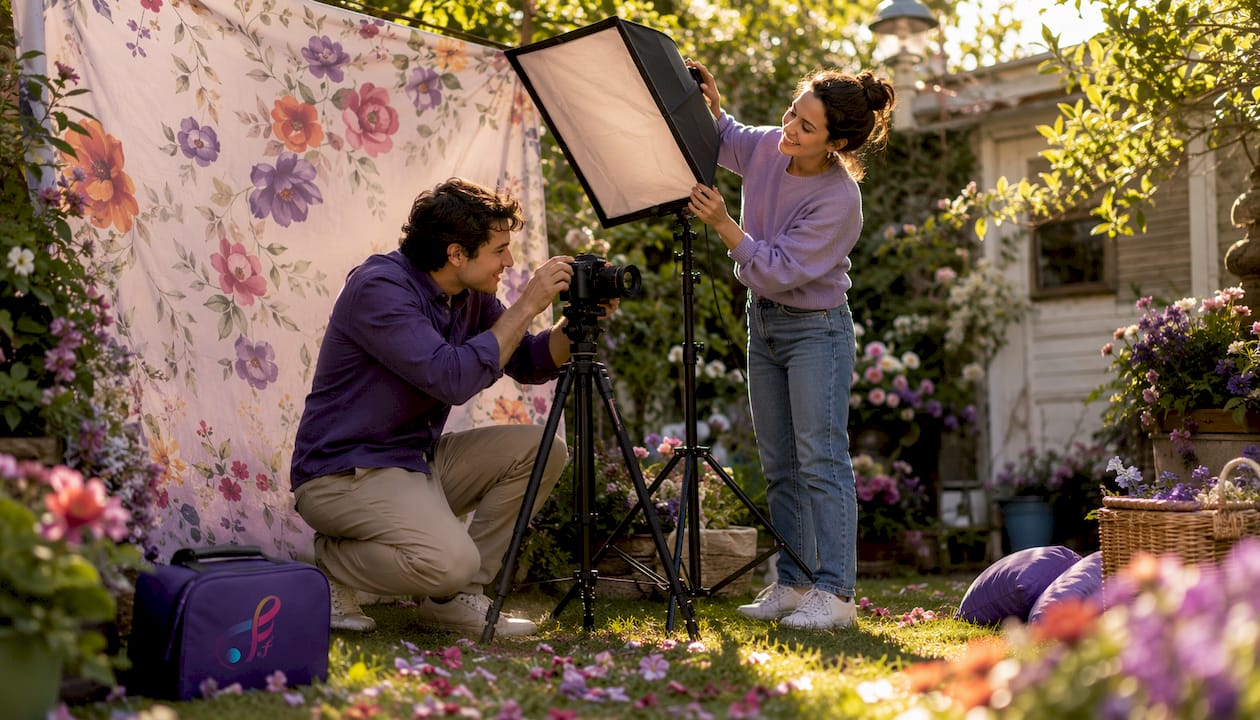
A DIY setup is genuinely achievable, but only if you test everything before the wedding day. Skipping the end-to-end system test is the most common failure point, and troubleshooting a crashed app while guests wait is not how you want to spend your reception.
Core equipment checklist:
- Camera or tablet: a DSLR with tethering gives the best image quality; an iPad with a dedicated photo booth app works well for most budgets
- Tripod or stand: stable, adjustable to chest height (roughly 4.5–5 feet from the floor)
- Lighting: a ring light handles casual setups; a two-light softbox kit produces professional results
- Backdrop and stand: assembled to 7–8 feet tall, secured so it does not shift during the event
- Photo booth app: configure countdown timers to 3–5 seconds, enable sharing via QR code or text, and keep filter options simple
- Printer (optional): dye-sublimation printers produce prints in about 15 seconds and cost roughly $0.30–$0.50 per print in media costs
- Signage: clear, simple instructions posted at eye level so guests do not need to ask for help
Position the camera 4–6 feet from the backdrop. Set lighting at a 45-degree angle, slightly above eye level, to avoid harsh shadows under eyes and chins. Run a full test with real people standing in the photo zone before the event starts, and have a tech-savvy friend or family member assigned to monitor the setup throughout the night.
How to build your photo booth booking timeline
Book your photo booth 4–6 months in advance to avoid vendor conflicts, especially for peak wedding season weekends. Popular dates fill fast, and waiting until two months out limits your options significantly.
Key milestones to hit:
- 6 months out: confirm booth type, vendor, and package; pay deposit
- 4 months out: finalize backdrop selection and prop theme
- 2–3 months out: submit custom overlay or print template design to vendor; confirm venue logistics
- 4–6 weeks out: verify power requirements and booth footprint with venue coordinator
- 1 week out: confirm arrival time, setup window, and vendor contact with both the venue and the booth company
- Day before: confirm the designated space is clear and accessible
One detail couples often miss: setup and breakdown should happen outside your paid rental hours. Confirm this with your vendor in writing so you are not paying for time the booth is being assembled rather than used.
How to get guests engaged and sharing photos all night
Peak photo booth usage happens post-dinner and late evening, not during cocktail hour. Plan your booth hours accordingly, and do not waste your rental window on a time slot when guests are still finding their seats.
Strategies that consistently drive participation:
- Announce the booth at the start of the reception: ask your DJ or MC to mention it during opening remarks
- Use a custom wedding hashtag displayed on the booth, on table cards, and in the booth's digital sharing screen
- Set up a live photo feed on a monitor near the dance floor so guests see real-time prints and want to join in
- Offer a photo booth scrapbook: guests print a copy, sign it, and leave a message, giving you a guestbook that is actually fun to look at
- Have an attendant actively invite guests rather than waiting for people to wander over on their own
Pro Tip: Announcing the booth closing 30 minutes before the end of the rental drives a concentrated surge in usage, often increasing participation by 20–30% in that final window. Tell your DJ to make the call.
Photo booth logistics and venue coordination
Treat the photo booth as a separate entertainment vendor, not an afterthought. Proactive venue communication prevents the conflicts that derail otherwise well-planned setups.
Logistics checklist:
- Confirm the exact booth footprint with the venue and mark the spot on a floor plan
- Identify the nearest power outlet; bring a heavy-duty extension cord and a power strip as backup
- Verify the venue's policy on attaching items to walls (relevant for backdrop mounting)
- Confirm delivery and setup access time with both the venue and the vendor
- Ask your vendor about liability insurance and backup equipment availability onsite
- Position the booth so the queue does not block service routes, emergency exits, or the dance floor entrance
- Assign a point of contact at the venue who can help the vendor if access issues arise on the day
Avoid common event setup mistakes by walking the venue space in person before the wedding day. What looks fine on a floor plan sometimes creates a bottleneck in practice.
What Fiesta Fusion's team has learned from hundreds of events
Fiesta Fusion is a veteran-owned photo booth and DJ company based in Ogden, serving Northern Utah including Weber County, Davis County, and Salt Lake City. Running booths at weddings, quinceañeras, school dances, and corporate events across the region produces a clear picture of what works and what does not.
The couples who get the most out of their photo booth are the ones who treat it like a guest experience, not a decoration. Location, lighting, and a real human attendant matter more than any feature on a spec sheet. Put the booth where people already are, keep the interface simple, and have someone there to keep the energy up. That is the formula.
Common mistakes the Fiesta Fusion team sees repeatedly:
- Booking the booth but not confirming placement with the venue until the day of the event
- Choosing a backdrop that clashes with the venue's existing lighting color
- Skipping the attendant to save money, then watching the booth sit idle for stretches of the night
- Opening the booth during cocktail hour when guests are still arriving and distracted
- Overloading the props table so guests spend more time sorting than posing
Professional troubleshooting that an attendant handles in real time: software resets, paper jams in the printer, props that fall off the table, and guests who are unsure how to start the countdown. None of these are catastrophic with someone present. All of them become problems without one.
What does a wedding photo booth actually cost?
Photo booth rental packages for weddings typically run $700–$1,500 depending on booth type, rental duration, and add-ons. A basic open-air setup with digital sharing sits at the lower end; a 360 video booth with prints, a custom overlay, and a dedicated attendant lands at the higher end.
For couples considering DIY, a basic setup using a smartphone or tablet runs $100–$300 in equipment costs. An intermediate setup with an iPad and proper lighting runs $300–$600, and an advanced DSLR-based setup with professional lighting and a dye-sublimation printer runs $600–$1,000 or more. Those figures cover equipment only and do not account for your time on the wedding day.
For photo booth rental pricing specific to Northern Utah, Fiesta Fusion publishes a detailed cost breakdown covering packages and add-ons.
What photo booth software can actually do for your wedding
Modern photo booth software goes well beyond a countdown timer and a shutter button. The features that matter most for weddings:
- Custom overlays: a digital frame applied to every photo that includes your names, wedding date, and a design element matching your invitations. This is what a wedding photo booth overlay refers to, and it is one of the most cost-effective personalization tools available.
- Digital sharing: guests receive their photos instantly via text, email, or QR code, no app download required
- Social media integration: direct posting to Instagram or a live gallery feed displayed at the reception
- GIF and boomerang modes: short looping clips that perform well on social media and add variety to the photo output
- Touchscreen interface: a touchscreen photo booth lets guests start sessions, choose filters, and share photos without any staff assistance, which is useful during high-traffic periods
- Branded welcome screen: the idle screen between sessions displays your names, hashtag, or a custom graphic
Most professional rental packages include overlay design as part of the service. For DIY setups, apps like Darkroom Booth, Simple Booth HALO, and Snappic offer these features with varying levels of customization.
Should you hire a professional or go DIY?
The honest answer depends on your budget, your technical comfort level, and how much you want to think about the booth on your wedding day.
Professional rental advantages: the vendor handles setup, breakdown, troubleshooting, and attendant staffing. You get tested equipment, liability coverage, and a digital gallery delivered after the event. The experience is predictable.
DIY advantages: lower cost, complete creative control, and the ability to customize every detail. A well-executed DIY setup with a DSLR, proper lighting, and a quality app genuinely rivals professional results.
Where DIY goes wrong: underestimating setup time, skipping the pre-event test, and not having a dedicated person to manage the booth during the reception. If your tech-savvy friend is also a groomsman with other responsibilities, the booth will suffer.
A middle path worth considering: rent the equipment and software from a vendor but manage the setup yourself. Some companies offer equipment-only packages that cut costs while still providing professional-grade gear.
How to weave your wedding theme into every part of the booth
Personalization is what separates a memorable photo booth from a generic one. The goal is for a guest to look at a photo strip and immediately know it came from your wedding.
Start with the backdrop. Choose colors, textures, or florals that echo your ceremony decor. If your centerpieces feature pampas grass and dried botanicals, a greenery panel or neutral linen backdrop ties the booth into the overall aesthetic.
Carry the theme into the overlay design. Use the same font from your invitations, the same color palette, and your monogram or a small floral graphic that matches your stationery. A touchscreen photo booth can display a custom welcome screen with your names and wedding date, so even the idle state feels intentional.
Props are the easiest place to add personality. Custom signs with your names, a phrase meaningful to your relationship, or a reference to where you met give guests something to react to. Avoid generic "bride tribe" signs if they do not reflect your actual vibe.
Finally, if you are offering a photo scrapbook at the booth, choose an album that matches your wedding colors and provide a pen in a coordinating shade. Small details like that are what guests notice and remember.
Fiesta Fusion brings the full photo booth experience to Northern Utah
Planning a wedding in Ogden, Salt Lake City, or anywhere across Northern Utah? Fiesta Fusion handles the photo booth so you do not have to think about it on your wedding day. As a veteran-owned company with deep roots in Weber County and Davis County, the team brings professional-grade equipment, a dedicated attendant, and full coordination with your venue from setup through breakdown.
The 360 video booth is the most requested option for couples who want something guests have not seen at every other wedding. Guests step onto the platform, the camera rotates around them, and the result is a slow-motion video clip that is genuinely shareable. It pairs well with a standard open-air booth for couples who want both photo strips and video moments covered. Fiesta Fusion also offers uplighting, custom monograms, and DJ services, so you can coordinate your entire entertainment package through one vendor rather than managing multiple contacts. Check availability and get a quote at fiestafusion.com.
FAQ
Is a photo booth worth having at a wedding?
Yes. A photo booth gives guests an activity during the natural lulls in a reception, produces physical keepsakes they take home, and generates a shareable digital gallery you keep after the event.
How do you set up a photo booth for a wedding?
Position a camera or tablet on a tripod 4–6 feet from the backdrop, set up lighting at a 45-degree angle above eye level, install a photo booth app with sharing enabled, and test the full system with real people before guests arrive.
How far in advance should you book a wedding photo booth?
Book 4–6 months in advance to secure your preferred vendor and date, especially for peak season weekends in spring and fall.
How long should a photo booth run at a wedding?
Most wedding photo booths run for 3 hours, ideally starting post-dinner when guests are relaxed and the dance floor is active. Opening during cocktail hour is less effective because guests are still arriving and mingling.
What is a photo booth scrapbook?
A photo booth scrapbook is a physical album where guests print a copy of their booth photos, paste them in, and write a personal message alongside the image, creating a guestbook that doubles as a visual record of the night.
Key Takeaways
Successful wedding photo booth planning comes down to location, curated props, tested technology, and a dedicated attendant working together to keep guests engaged from dinner through the final dance.
| Point | Details |
|---|---|
| Location beats budget | An affordable booth near the bar or dance floor outperforms an expensive one in a dark corner. |
| Curate your props | 15–20 well-chosen props drive more engagement than a large, uncurated collection. |
| Book 4–6 months out | Early booking secures your preferred vendor and avoids peak-season conflicts. |
| Announce closing time | Telling guests the booth closes in 30 minutes drives a 20–30% surge in final usage. |
| Fiesta Fusion covers Northern Utah | Veteran-owned, full-service photo booth and DJ packages available across Weber County, Davis County, and Salt Lake City. |