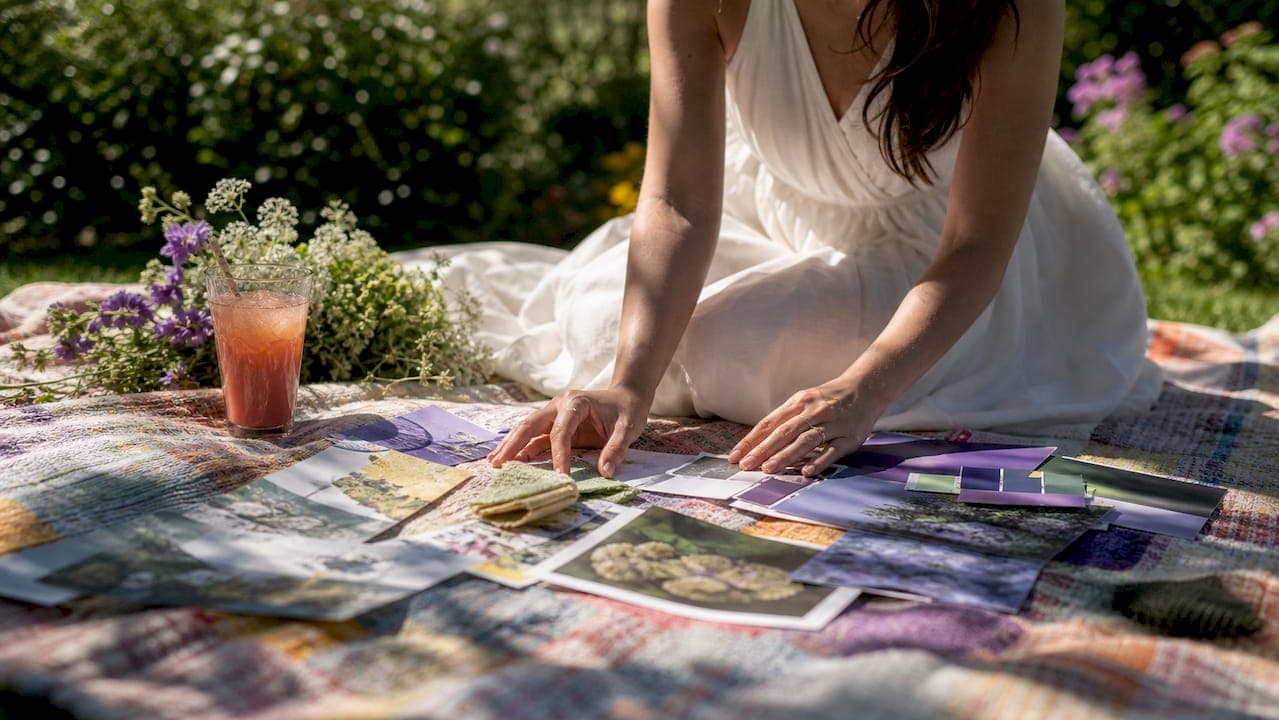
A wedding mood board is a curated visual document that captures the look, feel, and atmosphere you want for your wedding day, and serves as a design blueprint every vendor can work from. Think of it as a one-page visual brief: not a Pinterest rabbit hole, but a focused collection of images, color swatches, and short notes that translate vague words like "romantic" or "moody" into concrete choices a florist, photographer, or DJ can actually execute.
To start one right now, follow these four steps:
- Gather 30 to 50 raw inspiration images from Pinterest, Instagram, or magazines.
- Choose an anchor image that best captures the overall feeling you want.
- Pick a color palette including several key colors and note their hex codes.
- Share the finished board with each vendor before your first meeting.
Pro Tip: Include a short "love this / not this" note on at least a few images. Vendors say knowing what you dislike is just as useful as knowing what you love, because it prevents costly misinterpretations before a single flower is ordered.
Key Takeaways
A focused wedding mood board with hex codes, a visual anchor, and short vendor-specific notes is the single most effective tool for keeping every vendor aligned from contract to wedding day.
| Point | Details |
|---|---|
| Keep it focused | Edit to 15 to 30 images so vendors receive a brief, not a brainstorm. |
| Include hex codes and swatches | Named colors prevent vendors from interpreting "blush" differently. |
| Add "do not" examples | At least one dislike image prevents the most common vendor misinterpretations. |
| Use a hybrid format | Build a digital master in Canva; bring a physical swatch board to in-person meetings. |
| Share vendor-specific versions | Point each vendor to the elements most relevant to their job for faster proposals. |
Table of Contents
- Where can you make a wedding mood board?
- How do you build a wedding mood board step by step?
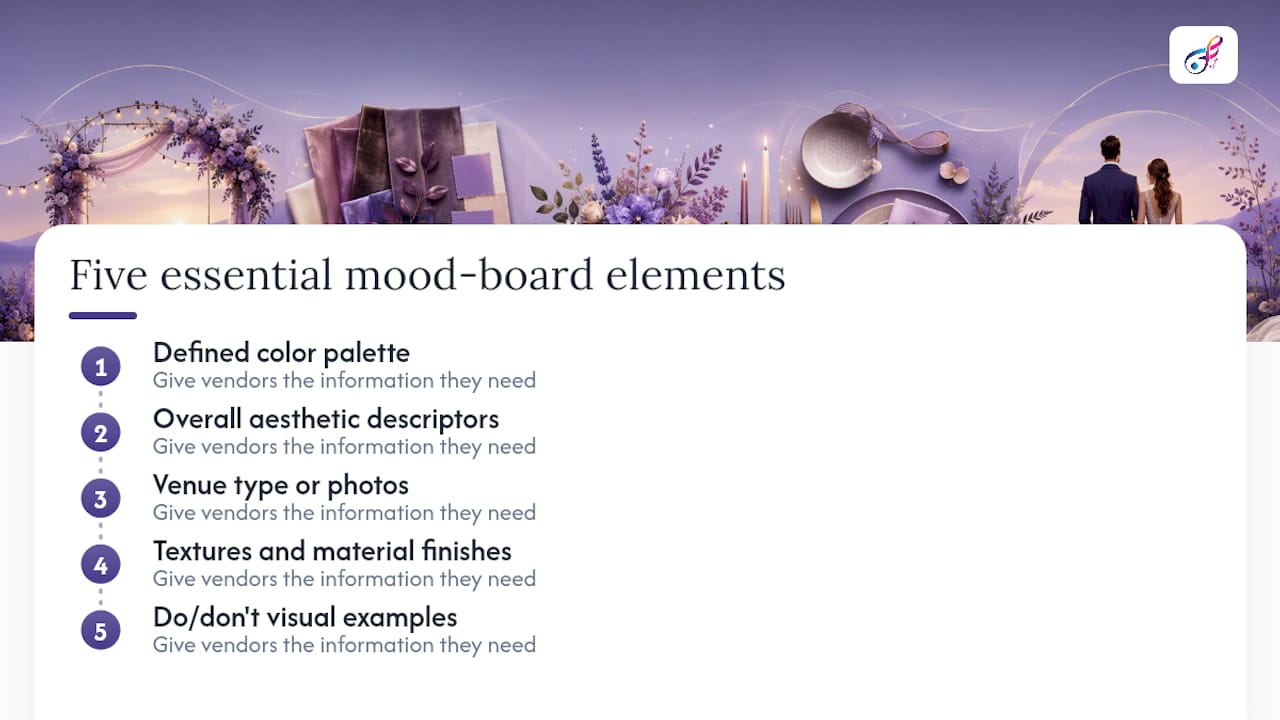
- What are the five must-have elements on a wedding mood board?
- Digital vs. physical mood boards: which format should you use?
- How do you share your mood board with vendors so everyone stays aligned?
- Common mistakes to avoid when building a wedding mood board
- Where can you find starter templates and examples?
- When should you make your mood board during planning?
- A planner's honest note on mood boards
- Sources
- FAQ
Where can you make a wedding mood board?
You have two broad categories: digital platforms and physical boards. Each has a clear best use.
Digital platforms are the default for most couples because they are easy to share, update, and export. Here are the strongest options:
- Pinterest is ideal for collecting raw inspiration fast. You can build a secret board, pin freely, and share a link with vendors in seconds. The downside is that an unedited Pinterest board can balloon to hundreds of pins, which overwhelms vendors rather than guiding them.
- Canva offers pre-built wedding mood board templates that let you arrange images, add color swatches, and type short captions in one place. It exports cleanly as a PDF or image file, which is exactly what vendors need.
- Adobe Express works similarly to Canva and is a strong choice if you already use Adobe tools. Templates are polished and the export options are flexible.
- Milanote is a favorite among designers and planners who want a more freeform, drag-and-drop canvas. It handles mixed media well and lets you add text notes directly beside images.
Physical boards still have a place, particularly for tactile decisions. A foam board covered with fabric swatches, paint chips, and ribbon samples communicates texture in a way no screen can. More on that in the digital vs. physical section below.
| Platform | Best for | Shareability | Templates | Print-ready export |
|---|---|---|---|---|
| Raw inspiration gathering | High (link) | No | No | |
| Canva | Polished vendor-ready boards | High (link or PDF) | Yes | Yes |
| Adobe Express | Design-forward layouts | High (link or PDF) | Yes | Yes |
| Milanote | Freeform planning canvases | Medium (link) | Limited | Limited |
Quick recommendation: Use Pinterest to collect, then move your edited selection into Canva to build the final board. Send vendors a Canva PDF. Bring a small physical sample board to tastings and walkthroughs.
How do you build a wedding mood board step by step?
A simple five-step workflow covers the full process from first idea to vendor-ready file. Here is an expanded version you can follow linearly.
- Define the feeling first. Before you open any app, write down three to five adjectives that describe your ideal wedding day. "Candlelit," "garden party," "editorial," "warm and earthy." These words become your filter for every image you collect.
- Set your constraints. Note your venue type, season, and any non-negotiables (a specific color, a style your partner loves). Constraints are not limitations; they keep the board coherent.
- Choose your canvas. Pick one platform and stick with it for the final board. Canva is the most practical for sharing.
- Collect images broadly, then cut ruthlessly. Pull 30 to 50 images, then edit down to 15 to 30. Every image that stays should earn its place by reinforcing the feeling you defined in step one.
- Label key images with short captions. A visual anchor image grounds the board, and one-line notes like "love the candlelight, not the chairs" prevent vendors from copying the wrong detail.
- Export and share. Save as a PDF for email, and keep an editable version for updates.
Editing checklist before you share:
- No more than 15 to 30 images total
- One clear anchor image (the image that best represents the whole vibe)
- A color palette with hex codes or physical swatches
- At least one "do not replicate this" note so vendors know what to avoid
- Venue type or photo included so vendors understand scale and setting
Sample vendor brief you can paste into an email:
"Hi [Vendor name], attached is our wedding mood board. Our overall feel is [adjective, adjective]. Key colors are [hex codes]. Please focus on [specific element relevant to their job]. Let us know if anything conflicts with your style or availability."
Pro Tip: Send each vendor a version of the board that highlights the elements most relevant to their work. Your florist does not need to study your font choices, and your photographer does not need to focus on the linen textures. A targeted board gets a faster, more accurate proposal.
What are the five must-have elements on a wedding mood board?
A complete mood board covers five categories that vendors across every discipline rely on. Miss one and you create a gap they will fill with their own assumptions.
- Color palette with hex codes or swatches. Three to five colors, named and coded. Without hex codes, "dusty rose" means something different to every vendor. A swatch or code removes the guesswork entirely.
- Overall aesthetic and feel words. Two or three adjectives written directly on the board. "Romantic, candlelit, garden party" tells a photographer how to meter light and tells a DJ which playlist direction to take.
- Venue context or photos. A photo or description of your venue helps vendors understand scale, architecture, and natural light. A florist designing for a barn needs different proportions than one working a rooftop.
- Textures, materials, and sample finishes. Images of linen, velvet, marble, matte vs. glossy, wood grain. These details matter most to rental companies, caterers styling tablescapes, and florists choosing vessels.
- Do/don't visual examples. At least one image labeled "yes" and one labeled "no." This is the element most couples skip, and it is the one planners say saves the most back-and-forth. A vision board can include non-wedding imagery that evokes the right vibe, so do not limit yourself to wedding photos. A moody restaurant interior or a film still can communicate atmosphere better than a staged wedding shot.
Digital vs. physical mood boards: which format should you use?
Digital boards are convenient for sharing and updating, while physical swatches and samples carry tactile information no screen can replicate. The right answer for most couples is both, used at different stages.
Digital boards:
- Easy to share via link or PDF before meetings
- Editable as your vision evolves
- Templates speed up the layout process
- Cannot communicate fabric weight, paper texture, or paint sheen
Physical boards:
- Fabric swatches, paint chips, and ribbon samples show actual texture and color accuracy
- Useful at tastings, venue walkthroughs, and florist consultations
- Cannot be emailed or updated quickly
- Take time to assemble
| Format | Shareability | Tactile accuracy | Editability | Best moment to use |
|---|---|---|---|---|
| Digital (Canva, Pinterest) | High | Low | High | Before meetings, via email |
| Physical (foam board, swatches) | Low | High | Low | In-person consultations |
| Hybrid | High | High | Medium | Throughout planning |
The hybrid workflow that works best: build a digital master board in Canva and keep it updated throughout planning. Separately, assemble a small physical sample board with fabric swatches and paint chips to bring to in-person vendor meetings. The digital version handles communication; the physical version handles the decisions that depend on touch.
How do you share your mood board with vendors so everyone stays aligned?
Sharing the board is not the same as using it. A PDF attachment in an email is a start, but a brief that tells each vendor what to focus on is what actually drives alignment. For practical guidance on how event vendors coordinate, the workflow below applies directly to mood boards.
Vendor-brief template:
"Attached is our wedding mood board. Our overall aesthetic is [adjective, adjective]. The anchor image is [describe it briefly]. Please focus on [element specific to their role]. Colors are [hex codes]. One thing we want to avoid: [specific detail]."
Three questions to ask every vendor after sharing the board:
- What do you need from this board to prepare your proposal?
- Can you match or source materials in these specific colors?
- Is there anything on the board that conflicts with your style or what you typically offer?
Planners consistently recommend including dislikes alongside likes. Knowing a couple hates mason jars or Edison bulbs prevents a vendor from defaulting to those choices, even when they seem on-trend. A board without "do not" examples leaves too much room for interpretation.
Point each vendor to the section of the board that matters most for their job. Your florist should focus on the color palette, floral images, and texture references. Your photographer should study the lighting mood, the overall atmosphere, and any specific shots you have flagged. Your DJ or entertainment vendor should look at the feel words and atmosphere images to understand the energy you want in the room. For ideas on how entertainment shapes event atmosphere, those mood-board cues translate directly into song selection, lighting choices, and pacing.
Common mistakes to avoid when building a wedding mood board
Most mood board problems fall into a short list of predictable errors. Each one has a straightforward fix.
- Too many images. A board with 80 pins is not a brief; it is a brainstorm. Cut to 15 to 30 images before sharing with anyone. If you cannot decide what to cut, ask yourself whether each image reinforces your anchor image.
- No defined color palette. "I like blush and greenery" is not a palette. Pull specific hex codes or attach physical swatches. Vendors who work with color daily need precision, not approximations.
- Mixing incompatible venue types. Pairing a rustic barn image with a sleek modern ballroom image sends conflicting signals. Pick one venue aesthetic and filter every image through it.
- Missing context for vendors. A board full of beautiful images with no captions, no color codes, and no feel words forces vendors to guess. Add at least three to five short labels before you share anything.
- Skipping the "do not" examples. This is the most common omission. One or two images labeled "not this" give vendors a boundary that prevents the most common misinterpretations.
- Never updating the board. Your vision will shift after you book your venue, attend a tasting, or see a fabric in person. A focused, curated board is more useful than a perfect one that no longer reflects your current thinking. Update it and re-share.
Where can you find starter templates and examples?
You do not need to build a mood board from scratch. Good starting points cut the setup time significantly.
- Canva wedding mood board templates are the fastest entry point. Search "wedding mood board" in Canva's template library, pick a layout that matches your aesthetic, and swap in your own images and colors. Most templates take under an hour to personalize.
- Pinterest starter boards work well for the collection phase. Search terms like "moody garden wedding," "modern minimalist wedding," or "boho desert wedding" surface curated boards other couples and planners have built. Use them as inspiration, not as your final board.
- Printable sample sheets are available through several wedding planning blogs and can serve as a physical template if you prefer assembling a tangible board. Print one, cut and paste your swatches, and bring it to vendor meetings.
Once you have a master board, consider building vendor-specific sub-boards for each category: one focused on florals and color, one on stationery and fonts, one on lighting and entertainment atmosphere. Each vendor gets a tighter, more relevant set of visuals, which speeds up their proposal process. For entertainment-specific visuals, your wedding photo booth planning guide can help you identify the right images to include for that vendor category.
When should you make your mood board during planning?
Timing matters. A mood board made too early may not reflect your actual venue; one made too late gives vendors no time to source materials.
- Right after engagement: Start collecting raw inspiration loosely. No editing required yet. This is the Pinterest phase.
- After booking your venue: Refine the board around the venue's architecture, natural light, and scale. This is when the board starts to take real shape.
- Before signing vendor contracts: Finalize the board and share it with each vendor before you sign. This is the moment it functions as a brief.
- During tastings and walkthroughs: Update the board based on what you see and feel in person. Swap out images that no longer fit.
- Six to eight weeks before the wedding: Lock the board. At this point, vendors are ordering and scheduling. Major changes create problems.
Time estimates: gathering raw inspiration takes two to four hours spread over a few days. Editing and building the final board in Canva takes one to two hours. Preparing vendor-specific versions adds another thirty to sixty minutes. Budget a full afternoon for the first complete draft.
A planner's honest note on mood boards
The boards that actually guide a wedding are not the prettiest ones. They are the most honest ones.
Couples who spend hours perfecting a board's layout but never add a single caption or hex code hand vendors a beautiful document that communicates almost nothing. The couples whose boards work are the ones who took twenty minutes to write "love the light here, hate the centerpiece" on three images and attached a six-color palette with codes. That is the whole difference.
Restraint is the skill. A board with fifteen images and five clear labels beats a board with sixty images and no context every time. Vendors are professionals; they do not need to be inspired by your board. They need to be briefed by it. When you treat the mood board as a functional tool rather than a creative project, it does exactly what it is supposed to do: it gets everyone in the room working toward the same wedding.
Sources
- How to Create a Wedding Mood Board That Actually Guides Your Planning | Plan A Wedding
- How to Create a Wedding Vision Board — Plan A Wedding
- How to Make a Killer Wedding Vision Board - The Knot
- 5 Steps for Making a Wedding Mood Board - Junebug Weddings
- Weddingdecor
- WEDDING MOOD BOARD: TIPS FOR CREATING TO SHARE WITH VENDORS — Flowers Valley Events
FAQ
What should be on a wedding mood board?
A wedding mood board should include a color palette with hex codes or swatches, two to three feel words describing the overall aesthetic, venue context or photos, texture and material references, and at least one "do not replicate this" example so vendors understand your boundaries.
What are the five elements every mood board must include?
The five must-have elements are a defined color palette, overall aesthetic descriptors, venue type or photos, textures and material finishes, and do/don't visual examples. Together, these give vendors across every discipline the information they need to match your vision.
How many images should a wedding mood board have?
Aim for 15 to 30 images in the final board you share with vendors. Fewer images with clear labels communicate more than a large, uncaptioned collection.
Is a wedding mood board the same as a vision board?
The terms are often used interchangeably, but mood boards can include non-wedding imagery such as film stills or interior design photos that evoke the right atmosphere, while vision boards tend to feature wedding-specific photos. Either format works as long as the board is curated and labeled.
When should you share your mood board with vendors?
Share the board before signing any vendor contract so vendors can flag conflicts with their style or sourcing capabilities. Update and re-share after major planning milestones like venue walkthroughs and tastings, then lock the board six to eight weeks before the wedding.